
By: Phoebe Carratu, Natalie Zera, and Victoria Pereira
Materials:
First-time user? See our glossary at the bottom of the page for details on what each product is used for, how to select, what they look like, and our recommendations. Please check the ingredients of all products if you have any allergies.
Skincare:
- Face wash
- Moisturizing cream
- [OPTIONAL]: exfoliators, treatments, serums, face oils, sunscreen, face masks, toner, eye cream
Makeup products:
- Primer
- Powder or liquid foundation
- Concealer
- Powder or liquid blush
- Powder or liquid highlighter
- Eyebrow pencil
- Translucent loose setting powder
- Black or dark brown mascara
- Lip product of choice:
- Gloss
- Stain
- Lipstick
- Balm
- Setting spray
Makeup tools:
- Makeup sponge
- Concealer brush
- Powder brush
- Blush brush
- Highlighter brush
- Eyelash curler
- Eyebrow spoolie
Instructions:
Step 1: Wash your hands with soap and water for at least 20 seconds.

Step 2: Complete your typical facial skincare routine. At the very least, wash your face and apply moisturizing cream or face oil for skin hydration.

Step 3: Sit in front of a mirror with natural or LED lighting beaming towards with your hands into the face and neck.

Step 4: Squeeze a pea-sized amount of primer onto the ring finger and evenly distribute by dotting the product onto the skin (one dot on each of the following areas: forehead, cheeks, nose, and chin). Blend into the skin by lightly rubbing the primer with your hands into the face and neck.

Step 5: Run your makeup sponge under the faucet until it is wet for better application and to use less product. You will know that the makeup sponge is wet enough when you squeeze it and all the water comes out but the sponge has grown in size and does not feel as hard.

Step 6: For foundation application:
a. If using liquid foundation, apply a quarter-sized amount to the back of your hand. With the tip of one finger, dab even spots of the foundation across your face and neck. Using your makeup sponge, blend the foundation into the skin with light taps until the whole face is covered with no patches.
b. If using powder foundation, swipe the powder brush back and forth in the product container. Then, apply it to the face and neck in even, round strokes until it is blended evenly into the skin with no patches.

Step 7: Take your concealer and put it on your concealer brush by swiping the brush back and forth to collect the product on the brush. Do this until your brush is covered with product but not overly saturated with the concealer. Pat the concealer brush under your eyes in the shape of your dark circles but do not go below one inch of your eye. You may also use your concealer and concealer brush to cover blemishes* by dotting them over the pimple or spot you wish to conceal. Once you have applied your concealer, use your makeup sponge and lightly dab the spots where you applied the concealer until it has evenly blended into the skin.

Step 8: Next grab your powder brush and lightly dip it into your setting powder. Tap the brush over the setting powder container and any excess powder will fall into the container. Press powder brush to areas where the skin will crease (e.g. forehead, smile lines, outer corners of eyes), underneath the eyes, and any places that your skin tends to get oily (e.g. forehead, chin, nose). Wait 2 minutes for the powder to set into the skin. Wipe off any excess powder on the face with the powder brush.

Step 9: For blush application:
a. If using liquid blush, apply 1-2 dots of the blush on the apples of your cheeks* with your fingers or the applicator. Using your blush brush, lightly fluff and brush the blush in outward strokes until it has blended into the cheeks.
b. If using powder blush, take your blush brush and lightly swipe the angled edge back and forth in the blush powder. Afterwards, lightly dab and swipe the blush in circular motions on the apples of your cheeks* until desired color is achieved (some prefer a lighter blush look, others prefer more blush; build up blush to your liking).

Step 10: For highlighter application:
a. If using liquid highlighter, apply 1-2 dots of the liquid highlighter about 1 inch below the eye. Then, using your highlighter brush, swipe it across the cheekbones in upward and downward strokes diagonally parallel to your eye to blend the highlighter.
b. If using powder highlighter, take your highlighter brush and swipe it back and forth across the highlighter to pick up the product. Afterwards, swipe the brush about 1 inch below the eye in upward and downward strokes diagonally parallel to your eye until you notice a shimmery, even blend.

Step 11: Grab your eyelash curler and open it by pulling the handles apart with one hand. Insert your thumb into the loop of the eyelash curler closest to you and your index finger in the loop of the eyelash curler farthest from you. Carefully place your lashes between the clamps, getting as close to the base of your lashes as you can without pinching your eyelid. You should not be in any pain. Look up and gently squeeze the curler down for 15-30 seconds, then release the curler. The amount of pressure you use will impact how much your eyelashes will curl. Repeat this process on your other eye.

Step 12: Take your mascara wand* and drag the mascara in upward strokes for the upper lashes and downward strokes for the lower lashes. Do this until you achieve your desired fullness and length of eyelashes. Repeat this process on your other eye.

Step 13: Grab your eyebrow spoolie and comb the eyebrows upwards into a shape closest to a defined arch. Starting from the inner corner and moving outward for a more natural look, take your eyebrow pencil and fill in the bald spots of your eyebrows using thin hair-like strokes until the eyebrows have a fuller and darker appearance.
If you make a mistake or overline your eyebrows, add concealer to your concealer brush and carve a defined arch with the brush. Blend the concealer around your eyebrows with a makeup sponge.

Step 14: Take your lip product of choice, and apply it to your lips with your mouth slightly open.
a. If the product has a wand with an applicator, slowly run it across your lips until the product is evenly distributed on the lips.
b. If using a product that can only be applied directly from the product package, press the applicator and gently squeeze. Swipe the applicator across the lips until it is evenly distributed on the lips.
c. If using a lipstick, open the lipstick container and twist the bottom to push out the lipstick. Gently press and swipe the lipstick across your lips until it has been evenly distributed and a desired amount of color appears on the lips.

Step 15: Take your setting spray and hold it 8-10 inches away from your face. Spray it 3-5 times while moving it in an x shape across your face.

Glossary:
| Makeup Products | ||||
| Material Name | Purpose | How to Select | Recommended Products | Photo Example |
| Primer | Serves as a base beneath your makeup, ensuring smooth application, long-lasting wear, and a beautifully even skin tone | Select a primer that suits your skin needs (e.g. glowiness, hydration, moisturization) | For sticky primer – E.l.f. Power grip primer For dewy primer- E.l.f. Jelly pop primer For hydrating/ moisturizing primer- elf hydrating face primer For blurring primer- elf poreless putty primer | 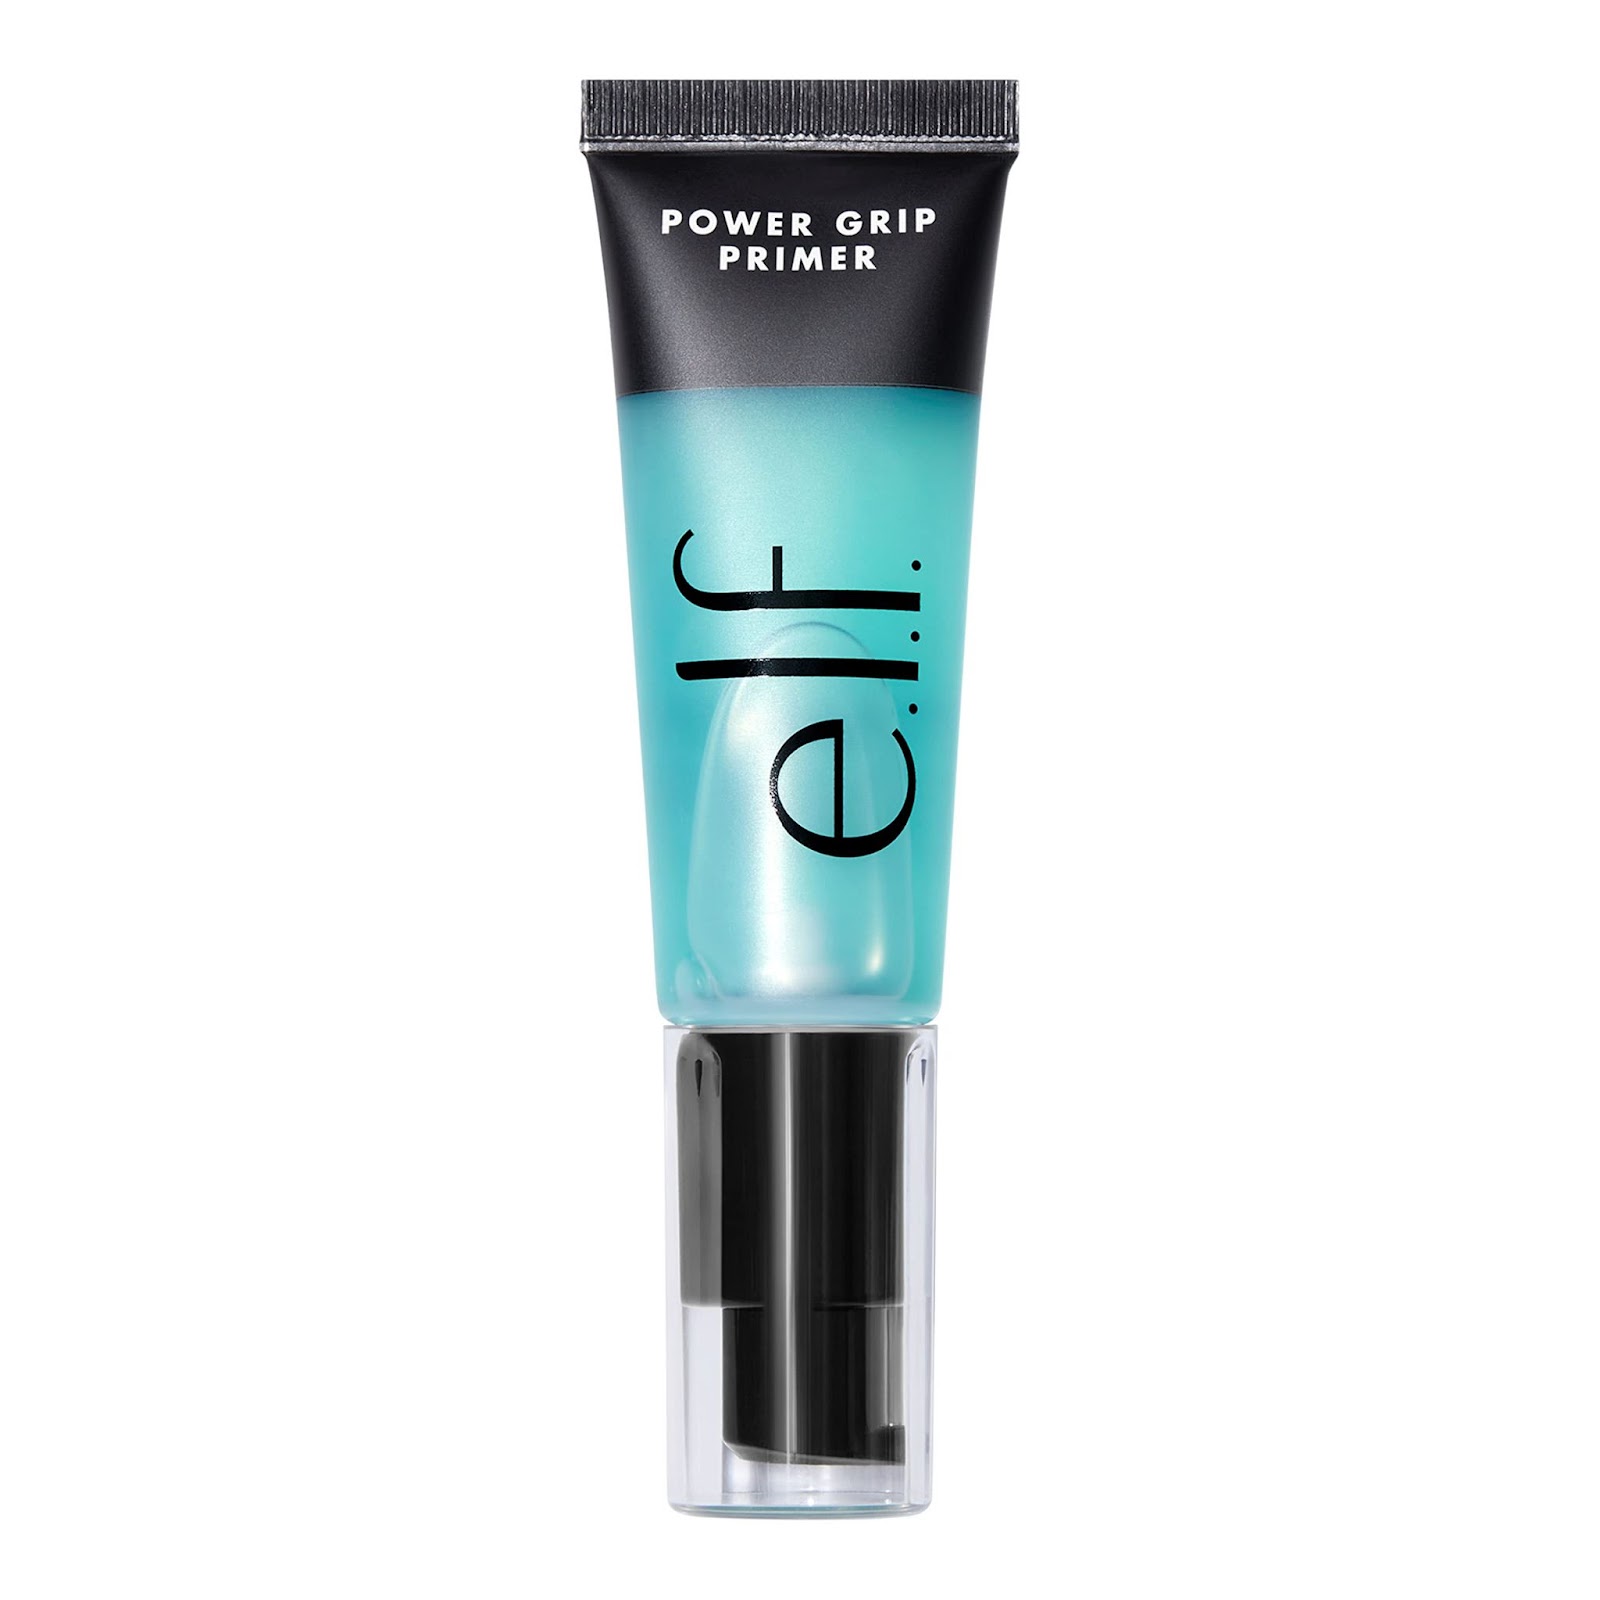 |
| Powder Foundation | Used as the base for the rest of the face makeup to help create a more even-looking complexion | Select a foundation that matches your skin color and undertone* | Sheglam powder foundation |  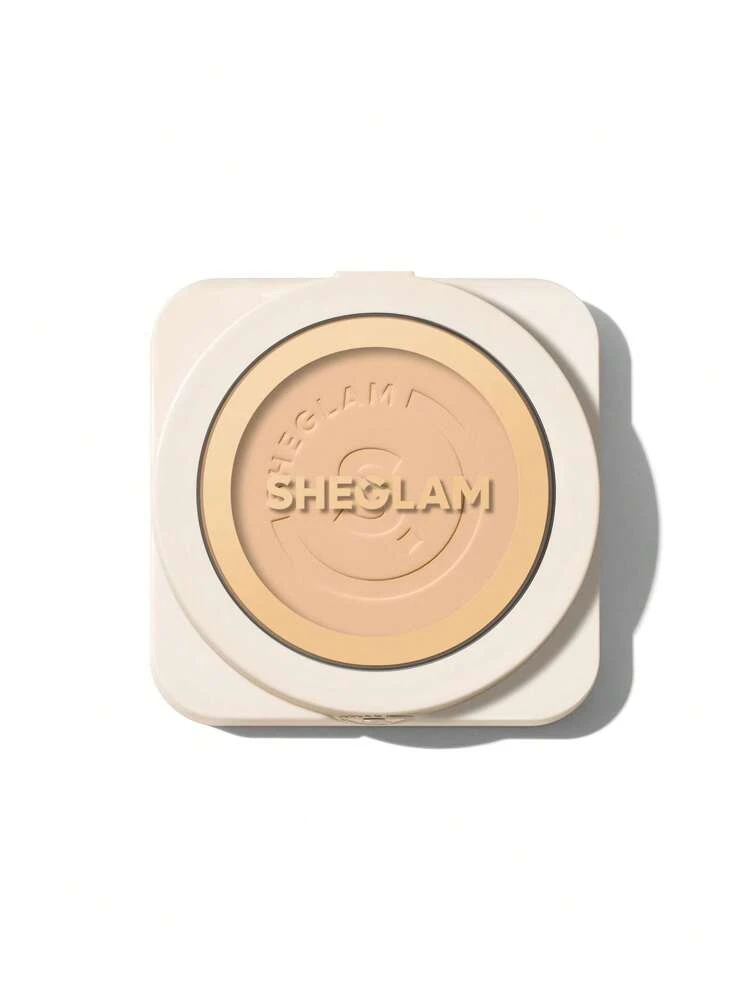 |
| Liquid Foundation | Used as the base for the rest of the face makeup to help create a more even-looking complexion | Select a foundation that matches your skin color and undertone* | For glowy foundation- nyx born to glow naturally radiant foundation For matte foundation- about face The PERFORMER skin focused foundation | 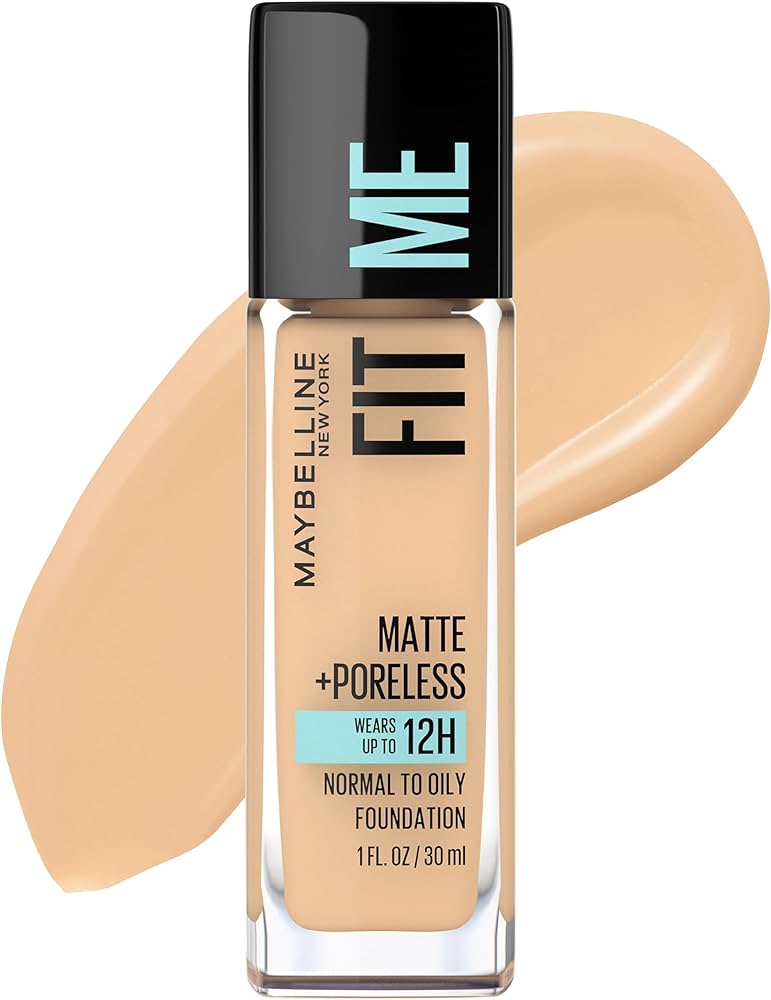 |
| Concealer | Hides dark circles, age spots, and blemishes by hiding pigments and blending these imperfections into the skin | Select a concealer that matches your skin color and undertone* | Elf hydrating concealer |  |
| Powder Blush | Helps to brighten up your face, add a healthy glow, contour your features, and a great way to add a pop of color to your look | Select a pink shade for lighter skin tones, purple shade for darker skin tones | Elf Primer infused blush |  |
| Liquid Blush | Helps to brighten up your face, add a healthy glow, contour your features, and a great way to add a pop of color to your look | Select a pink shade for lighter skin tones, purple shade for darker skin tones | For matte/natural finish- nyx sweet cheeks soft cheek tint cream blush For dewy/shimmery finish- makeup revolution super dewey liquid blush |  |
| Powder Highlighter | Adds a luminous and radiant glow to specific areas of the face, while accentuating features, creating dimension, and providing a youthful, dewy complexion | Select a highlighter color based on personal preference and matches your skin color (people with darker skin colors may opt for a darker shade of highlighter, however this is not necessary) | Wet N Wild megaglo highlighting powder | 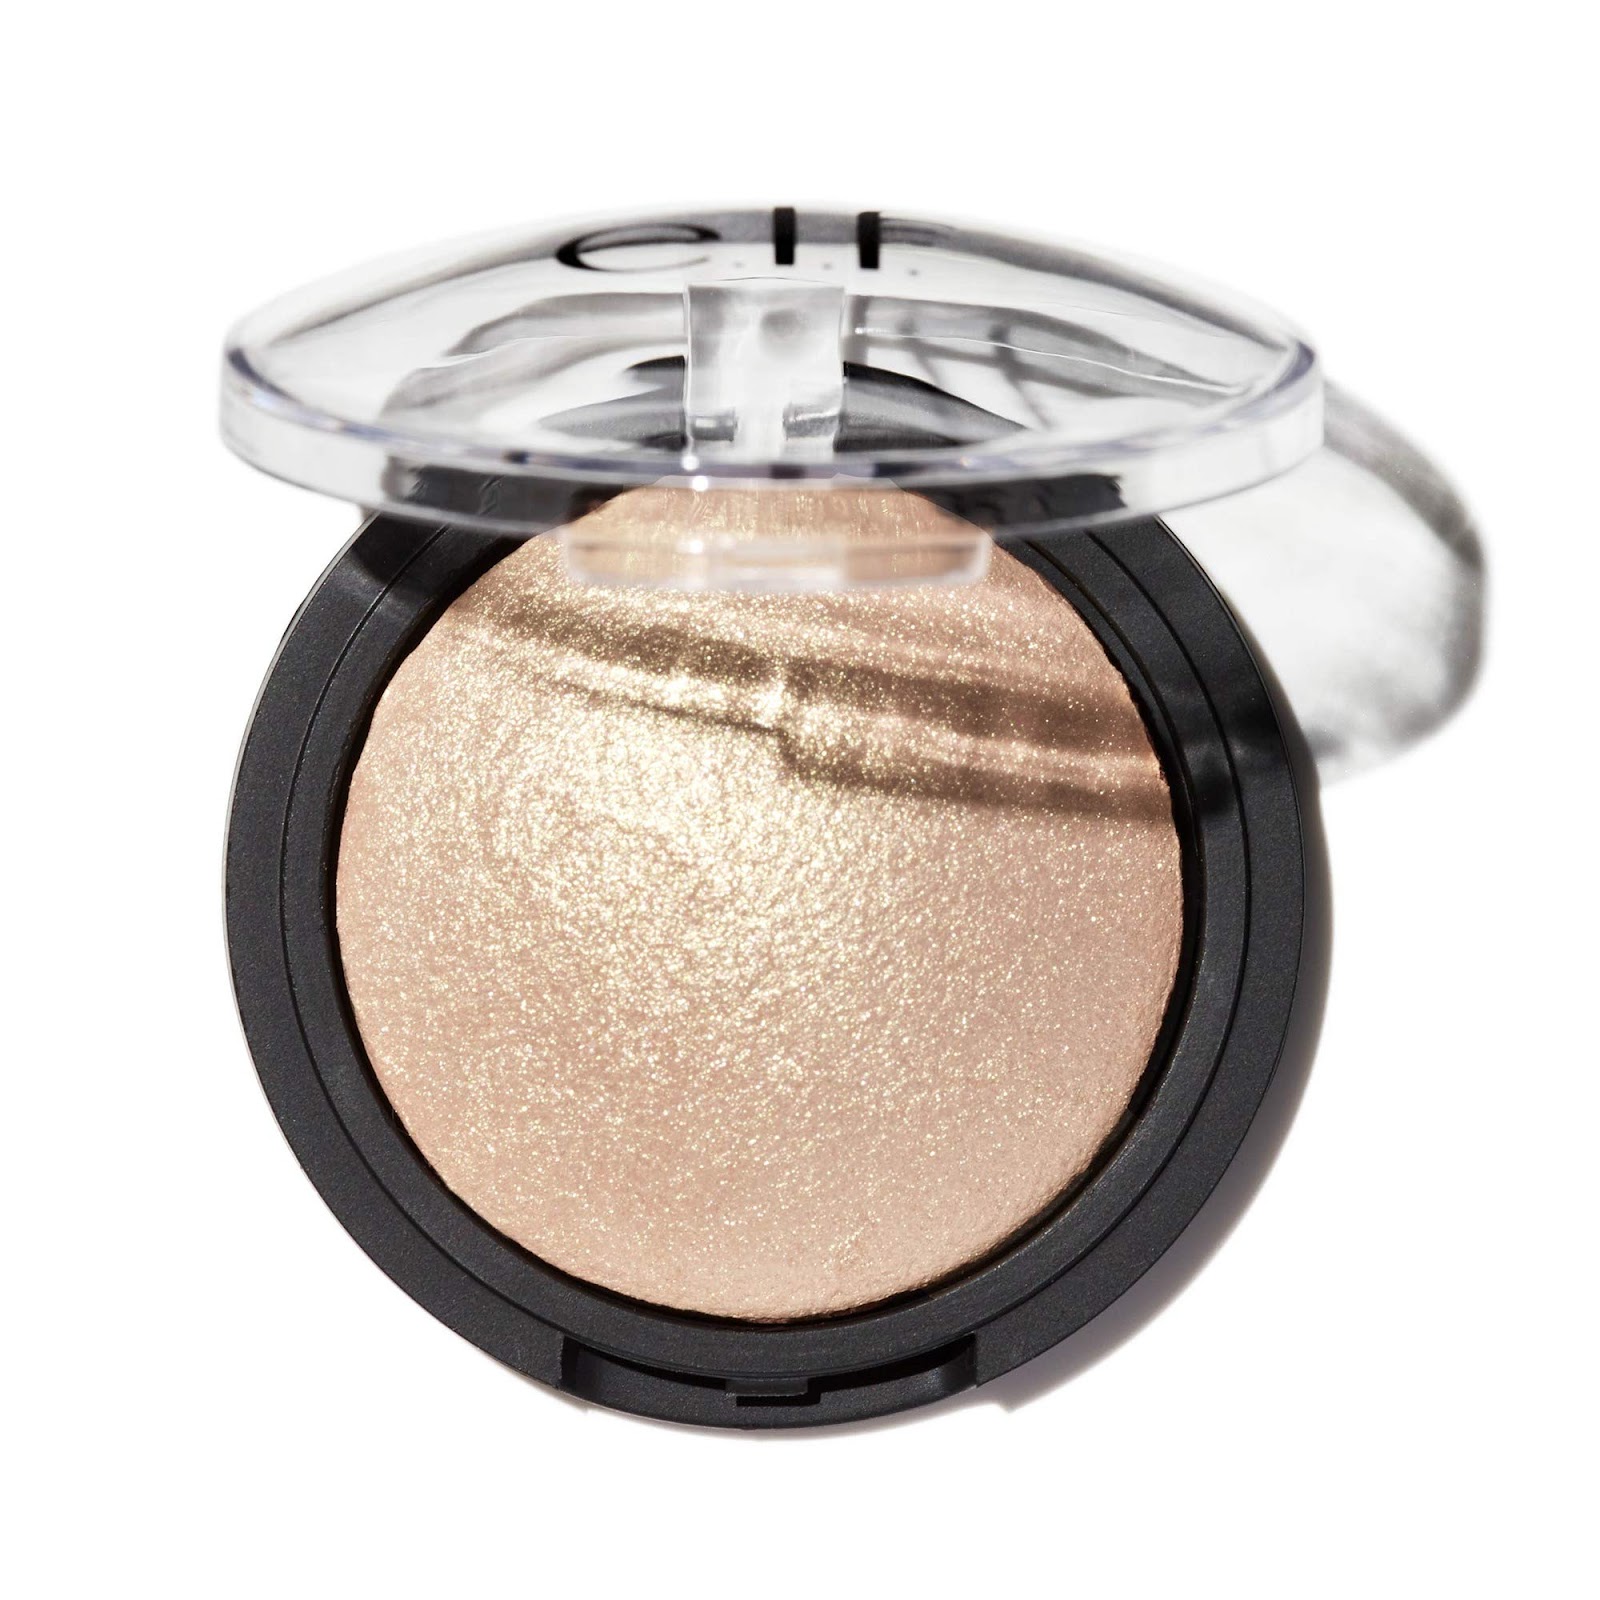 |
| Liquid Highlighter | Adds a luminous and radiant glow to specific areas of the face, while accentuating features, creating dimension, and providing a youthful, dewy complexion | Select a highlighter color based on personal preference and matches your skin color (people with darker skin colors may opt for a darker shade of highlighter, however this is not necessary) | Nyx born to glow liquid illuminator |  |
| Eyebrow Pencil | Applies color, fills in gaps, defines the eyebrow shape, outlines arches, and makes uneven brows appear more symmetrical | Select a pencil that matches the shade of your eyebrow hair | Elf instant lift brow pencil |  |
| Loose Setting Powder | Sets makeup in place | Select a translucent shade | Elf halo glow setting powder Maybelline fit me translucent setting powder |  |
| Mascara | Enhances the upper and lower eyelashes by darkening, thickening, lengthening, and defining the eyelashes | Select based on personal goal (e.g. lengthening, volumizing, curling, waterproof) | Lengthening-lash sensational lengthening mascara Volumizing- lash sensational sky high mascara Curling- elf lash n’roll curling and lifting mascara Waterproof- lash sensational waterproof mascara makeup |  |
| Lip Gloss | Gives lips a shiny finish and in some cases adds subtle color | Personal color preference | Nyx professional makeup butter gloss lip gloss |  |
| Lip Stain | Adds color to the lips by absorbing into the lips | Personal color preference | Cover girl outlast lipstain |  |
| Lipstick | Adds color to the lips | Personal color preference | Maybelline color sensational the creams, cream finish lipstick | |
| Lip Balm | Moisturizes lips | Personal brand preference | Nivea Lip care lip balm |  |
| Setting Spray | Helps extend the wear of makeup | Select based on preference of matte* or dewy* finish | Matte- milani make it last setting spray “matte” Dewy- milani make it last setting spray “dewy” |  |
| Makeup Tools | ||||
| Material Name | Purpose | How to Select | Recommended Products | Photo Example |
| Makeup Sponge | Applies and blends any cream or liquid makeup product onto the skin | Select any sponge | E.l.f. Blending sponge |  |
| Concealer Brush | Applies and blends concealer into skin | Select a small rounded brush | Wetnwild concealer blush | 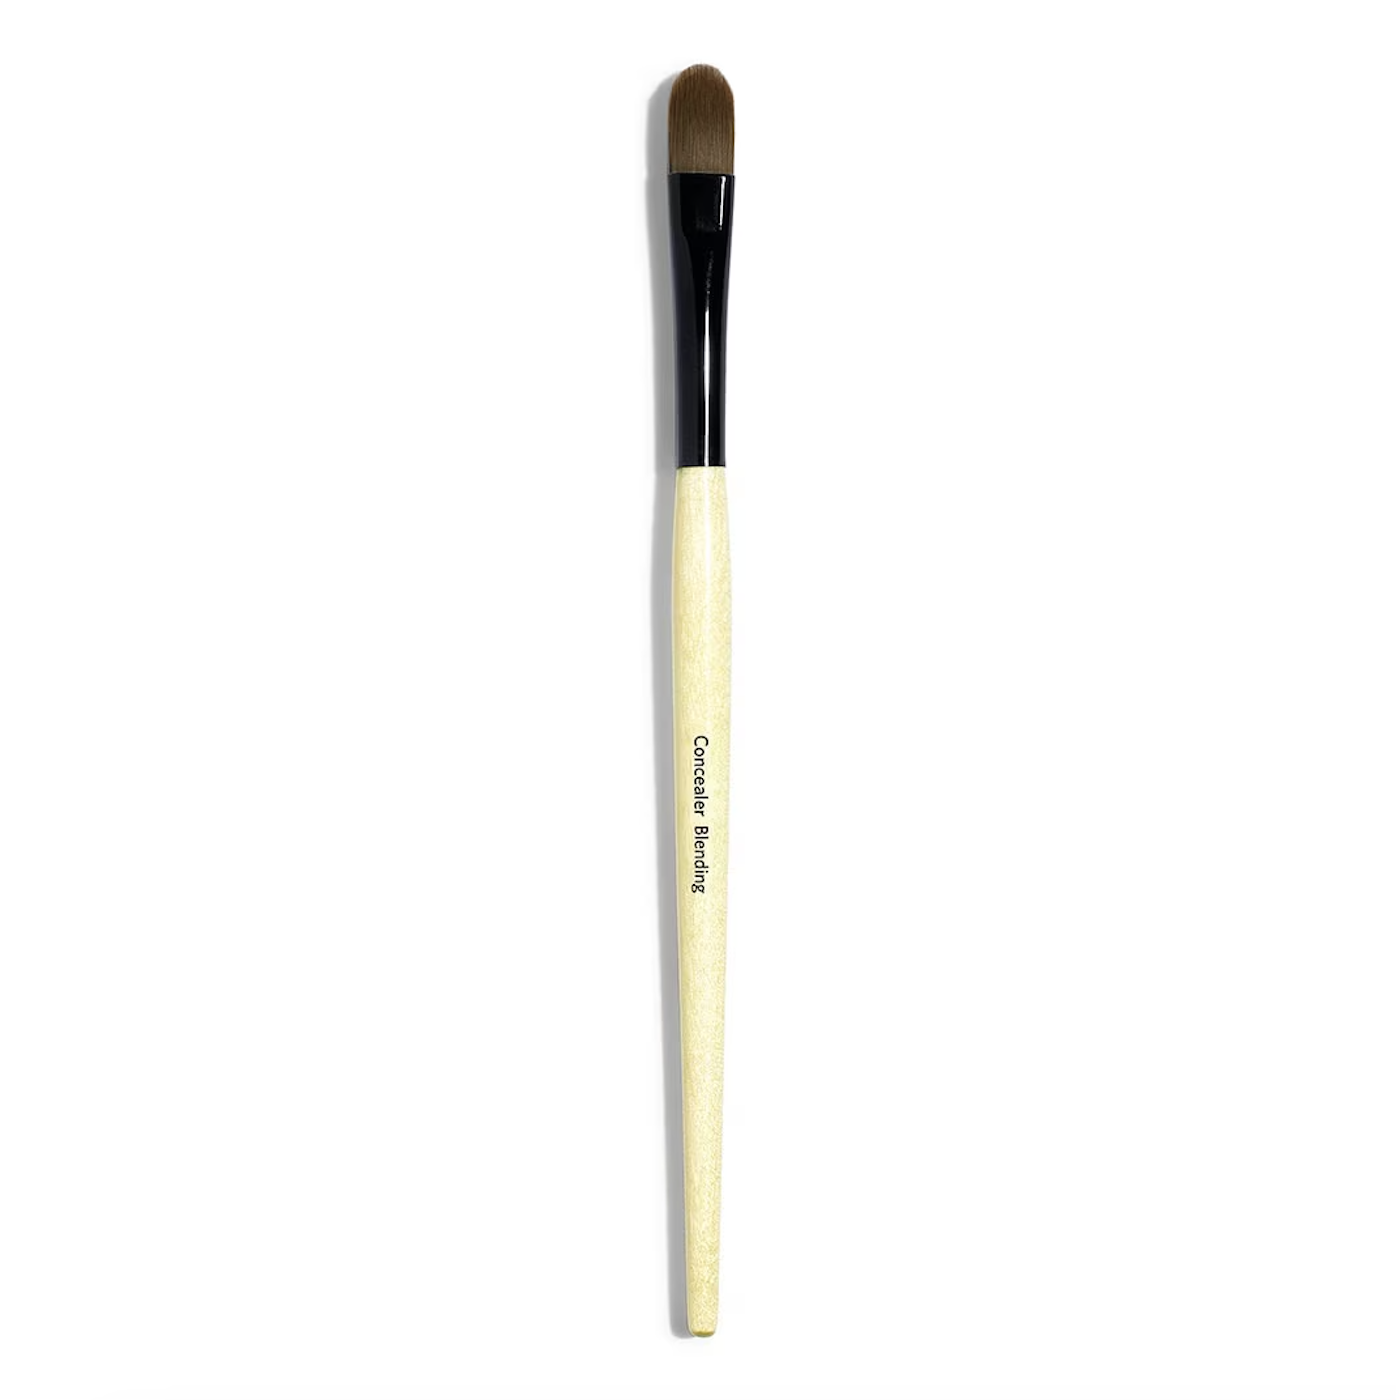 |
| Powder Brush | Applies a gentle amount of powder to set makeup | Select a large, fluffy rounded brush | E.l.f. Pointed powder brush |  |
| Blush Brush | Applies blush | Select a medium-sized angled brush | E.l.f. Blush brush |  |
| Highlighter Brush | Applies highlighter | Select a thin fan brush | Morphe large soft fan brush m310 |  |
| Eyelash Curler | Curls eyelashes in an upward direction | Personal brand preference | Wetnwild high on lash eyelash curler |  |
| Eyebrow Spoolie | Brushes eyebrow hairs in desired direction | Personal brand preference | E.l.f. Professional eyelash and brow wand |  |
| Key Words*:Undertone refers to the hue of your skin, some people have warmer undertones, some have neutral, and others have cooler undertonesMatte finishes provide a smooth, shine-free surface with no reflection of lightDewy finishes (also known as luminous or glowy) provides a soft, radiant look that mimics the natural glow of healthy skin |
| Key Terms*:Apples of your cheeks: the round areas of your cheeks that pop out when you smile just about 1.5 inches below the eyePatches: missing, separated, or textured areas of skinBlemishes: imperfections of the skin that feel less aesthetically pleasing (e.g. any discoloration, spot, scar, or mark on the skin)Mascara wand: the brush with bristles inside the mascara tube meant to apply the product |